Board And Batten Entryway: The Beauty Of Transforming Your Foyer
This post may contain affiliate links. As an Amazon Associate, I earn from qualifying purchases at no extra cost to you. Read my full disclosure.
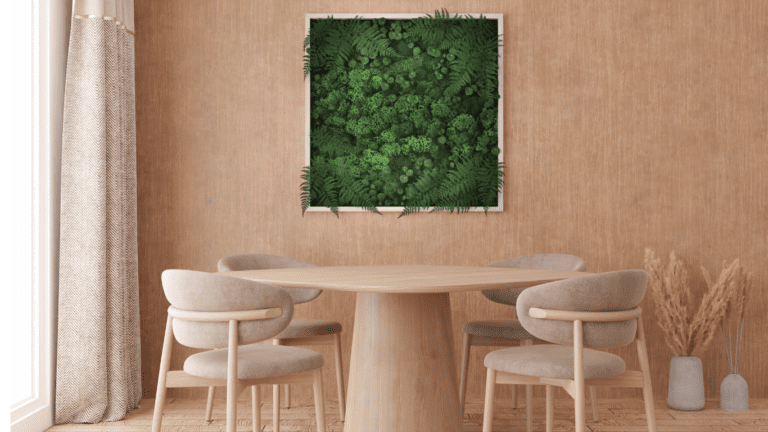
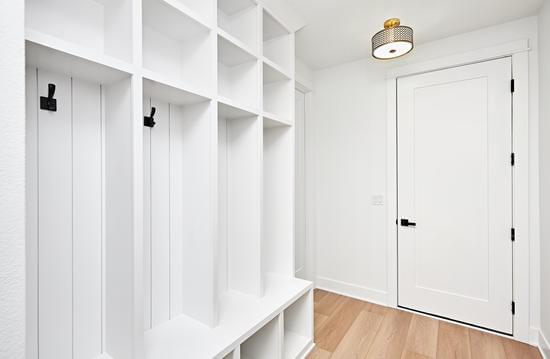
If you’re looking to add some charm and character to your home decor, a board and batten entryway may be just the thing you need.
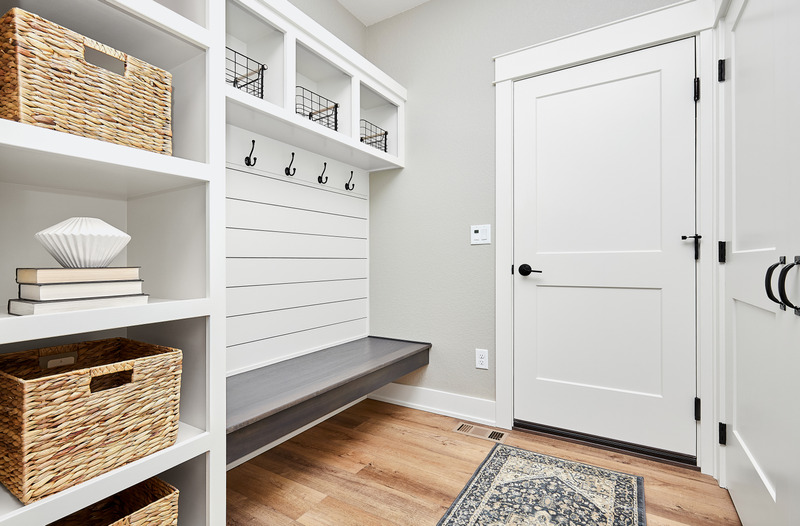
When combined with hooks, this can create a practical and stylish entryway that provides a place for coats, hats, and other accessories.
In this entryway, you can make a statement and add a touch of elegance to your home, all while creating a functional space that meets your needs. Do you need an entryway makeover? One that you will love— let’s get started!
Is the board and batten entryway easy to install?
The difficulty level of installing a board and batten entryway can vary depending on your skill level and experience with DIY projects.
However, with some basic carpentry skills and the right tools, it can be a relatively straightforward project to undertake.
The installation process involves measuring and cutting the boards for the battens and top rail, securing them to the wall with screws or nails, painting or staining the boards, and finally installing the hooks.
It’s important to note that you should take your time with the measurements and ensure that the boards are installed level and straight.
Additionally, if you are not comfortable with using power tools, it may be best to enlist the help of a professional to assist with the installation.
Overall, a board and batten entryway can be a great DIY project for those with some basic carpentry skills and the willingness to take on a new challenge.
These are just some general guidelines for board and batten. Ultimately, the design choices for board and batten are up to personal preference and can be adapted to suit any space and decor style.
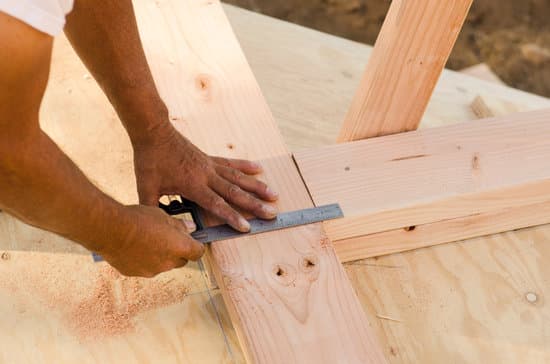
What tools do you need to DIY board and batten entryway?
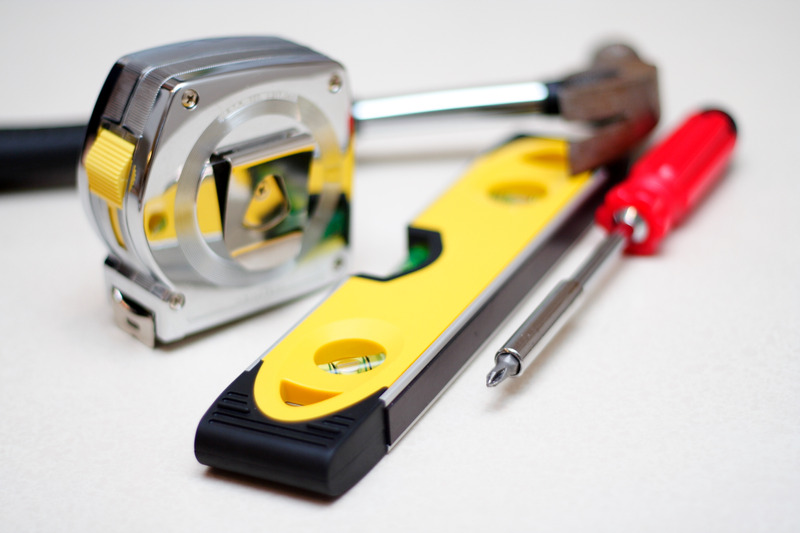
To undertake a DIY board and batten entryway project with hooks, you will need the following tools:
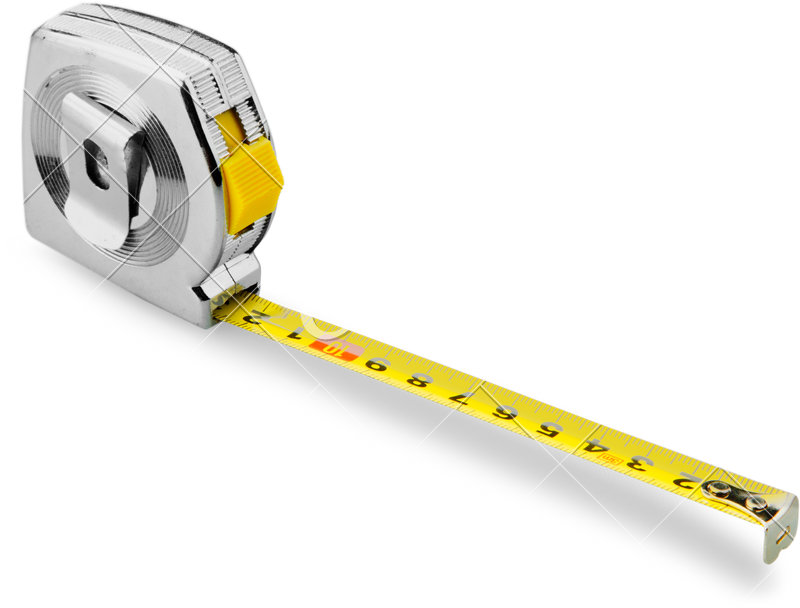
- Measuring Tape: Use a measuring tape to accurately measure the dimensions of your entryway and determine the spacing and placement of the board and batten panels.
- Level: A level is essential for ensuring that your board and batten panels are straight and aligned correctly. It helps maintain a professional and polished appearance.
- Stud Finder: A stud finder is useful for locating wall studs behind the drywall. Attaching the board and batten panels to the studs provides a secure and stable installation.
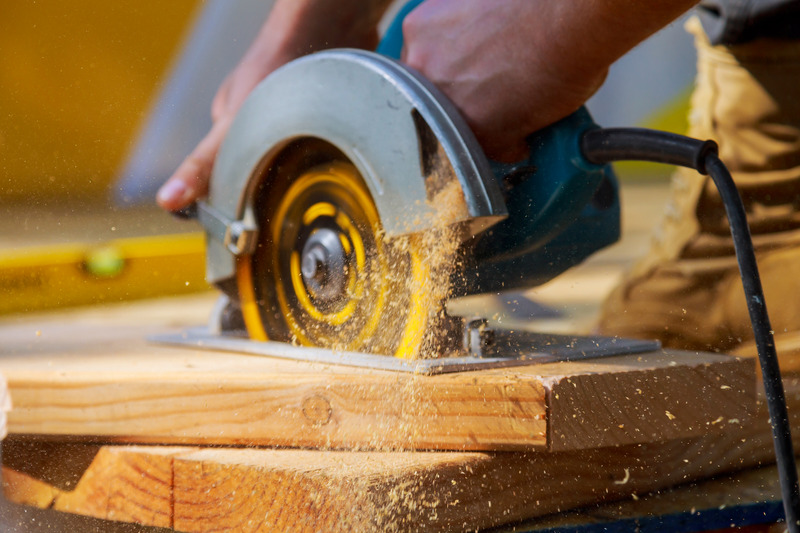
- Saw: Depending on the type of wood you choose, you may need a saw to cut the boards to the desired lengths. A miter saw or circular saw can be handy for making accurate and clean cuts.
- Power Drill: A power drill is necessary for pre-drilling holes and driving screws or nails into the wall and boards. It saves time and effort compared to manual screwdrivers.
- Screwdriver or Screw Gun: If you choose to use screws for attaching the boards, a screwdriver or a screw gun will be needed to drive the screws into the pre-drilled holes.
- Hammer and Nail Set: If you prefer to use nails instead of screws, a hammer and nail set is essential for securing the boards to the wall. The nail set helps countersink the nail heads for a finished look.
- Sandpaper: Sandpaper or a sanding block is useful for smoothing the edges and surfaces of the boards, especially if you cut them yourself or if there are any rough areas.
- Caulk Gun: A caulking gun is used to apply caulk along the edges and joints of the boards to create a seamless appearance and fill in any gaps.
- Paintbrushes or Rollers: Depending on your chosen finish, you will need paintbrushes or rollers to apply paint or stain to the boards and the wall. Use smaller brushes for detailed areas.
- Hooks and Hardware: Lastly, you’ll need hooks and appropriate hardware to attach them to the board and batten panels. Choose hooks that match the desired style and size for hanging coats, bags, or other items.
Remember to prioritize safety while using these tools. Wear appropriate protective gear such as goggles and gloves, and follow the manufacturer’s instructions for each tool.
What are the rules for board and batten entryway?
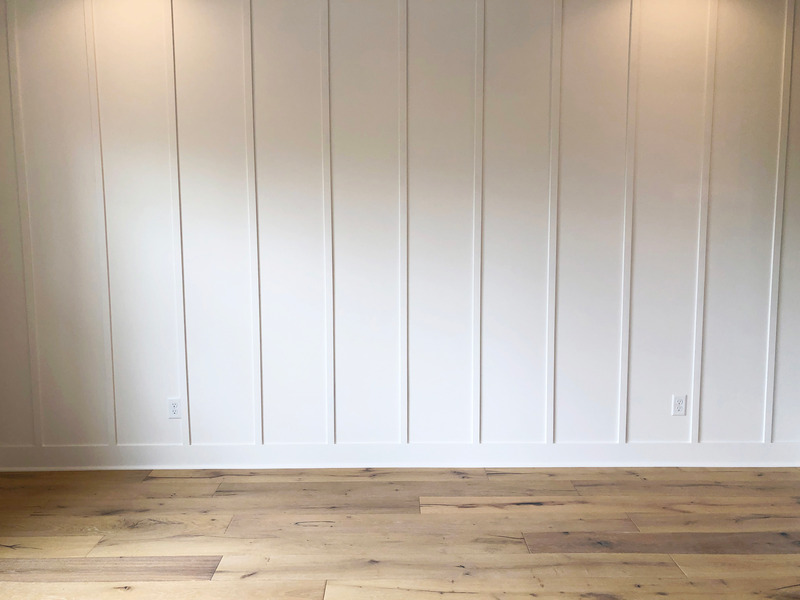
Board and batten is a style of wall treatment that involves installing vertical boards (the battens) over a lower horizontal board (the baseboard) to create a series of evenly spaced strips on the wall.
While there are no hard and fast rules when it comes to board and batten entryways, here are some general guidelines to keep in mind:
- Board spacing: The spacing between the boards can vary, but is typically between 12-24 inches apart. Consider the width of the wall and the height of the space when determining board spacing.
- Board width: The width of the boards can also vary but is typically between 2-4 inches wide. Wider boards can make a room feel cozier, while narrower boards can make a space feel more modern.
- Board height: As mentioned earlier, a common guideline for board and batten is to install the boards at around two-thirds of the height of the wall. However, this can be adjusted based on personal preference and the size of the space.
- Baseboard height: The height of the baseboard should be determined by the height of the board and batten. It’s important to make sure that the baseboard is tall enough to accommodate the height of the battens.
- Finishing: The board and batten can be painted or stained to match the decor of the room. Consider using a contrasting color to make the board and batten pop, or a complementary color to create a cohesive look (continue reading for more on finishing).
What is the best wood to use for board and batten entryway?
When it comes to choosing the best wood for a board and batten entryway, several options are commonly used due to their durability and aesthetic appeal. Here are a few popular choices:
- Cedar: Cedar is a popular choice for its natural resistance to decay and insects. It has a beautiful, reddish-brown hue and a straight grain pattern, adding warmth and character to your entryway.
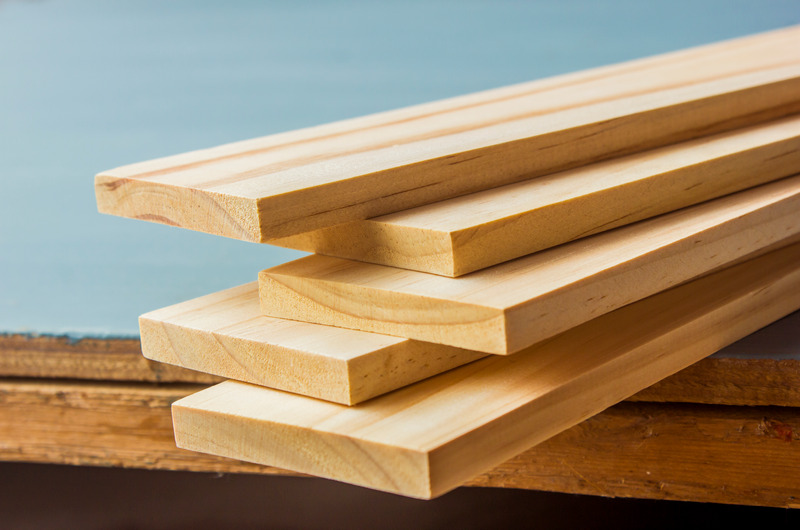
- Pine: Pine is a versatile and affordable option for board and batten projects. It is readily available and easy to work with, making it a popular choice for DIY enthusiasts. Pine can be stained or painted to match your desired finish.
- Poplar: Poplar is known for its straight grain and light color, making it an excellent choice if you prefer a paint-grade finish. It is relatively affordable and resists warping and shrinking, ensuring your board and batten entryway remain in good shape.
- Redwood: Redwood is a premium choice known for its durability and rich, reddish-brown color. It naturally resists rot and decay, making it a great option for areas with high humidity or moisture.
Ultimately, the best wood for your board and batten entryway depends on your personal preferences, budget, and the specific requirements of your project.
Consider factors such as durability, grain pattern, color, and ease of maintenance when making your decision.
Can engineered wood be used for a board and batten entryway?
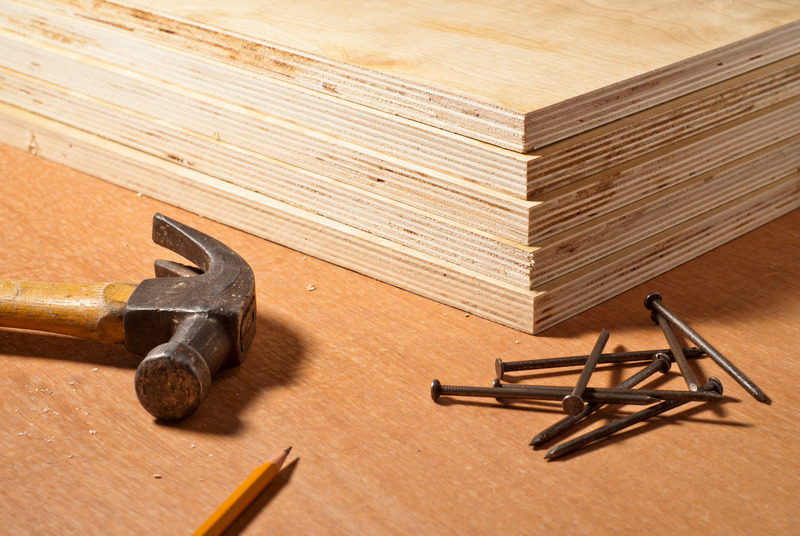
Yes, engineered wood can be used for a board and batten entryway. In fact, it is a popular choice for such projects due to its stability and dimensional consistency.
Engineered wood products like plywood or medium-density fiberboard (MDF) can be used as the base material for creating the board and batten panels.
Using engineered wood for a board and batten entryway can offer advantages such as cost-effectiveness, consistency in size and shape, and the ability to customize the panels to fit your specific design requirements.
However, it’s important to ensure that the engineered wood product you choose is suitable for the intended application and meets any necessary structural or safety requirements.
How high should board and batten be in the entryway?
The height of board and batten in an entryway can vary depending on personal preference and the size of the space.
However, a common rule of thumb is to install the boards at approximately two-thirds of the height of the wall.
For example, if your entryway has an eight-foot ceiling, you may want to install the board and batten at around five feet high.
This will provide a visually appealing balance between the boards and the remaining wall space, and can also help to create a sense of proportion and scale.
Of course, you can adjust the height to your liking based on the specific look you are going for.
Keep in mind that you may also want to consider the height of any furniture or decor that will be placed in the entryway, such as a bench or coat rack.
Ultimately, the height of the board and batten in an entryway is a matter of personal preference and can be adjusted to suit your individual style and needs.
Do board and batten have to go into studs?
When installing board and batten, it is generally recommended to attach the boards to wall studs for added stability and strength.
Attaching the boards directly to the drywall or plaster can cause the boards to pull away from the wall or become loose eventually.
However, if you are unable to locate studs in the desired location for the board and batten, there are alternative options.
One option is to use heavy-duty anchors, such as toggle bolts or molly bolts, to secure the boards to the wall.
Another option is to add horizontal furring strips to the wall between the studs and attach the boards to those strips.
It’s important to ensure that the board and batten are securely attached to the wall to prevent any potential safety hazards or damage to the wall.
If you are unsure of how to properly install board and batten, it may be best to consult with a professional or experienced DIYer for guidance.
How do you finish off the top of board and batten if it doesn’t go all the way to the ceiling?
When the board and batten treatment doesn’t extend all the way to the ceiling, there are a few options for effectively finishing off the top:
- Crown Molding: Install crown molding along the top edge of the board and batten panels where they meet the ceiling. This decorative trim adds a polished and cohesive look, providing a seamless transition between the wall and the ceiling.
- Ledge or Shelf: Create a ledge or shelf along the top of the board and batten panels. This can be achieved by attaching a horizontal board or shelf to the top of the panels. The ledge can serve as both a finishing element and a functional display space for decorative items or artwork.
- Paint or Stain: Paint or stain the top portion of the wall, including any exposed drywall or existing trim, to match or complement the color of the board and batten treatment. This helps create a unified and finished appearance, blending the different elements together.
- Wallpaper or Decorative Accent: Apply wallpaper or a decorative accent above the board and batten panels to fill the space between the top of the panels and the ceiling. This can add visual interest and create a visually appealing transition between the panels and the ceiling.
Consider the overall style and aesthetic of the room when choosing the finishing option that best suits your preferences.
Each approach offers a distinct look, so select the one that complements the board and batten treatment and enhances the overall design of the space.
What to do with baseboards when installing board and batten entryway?
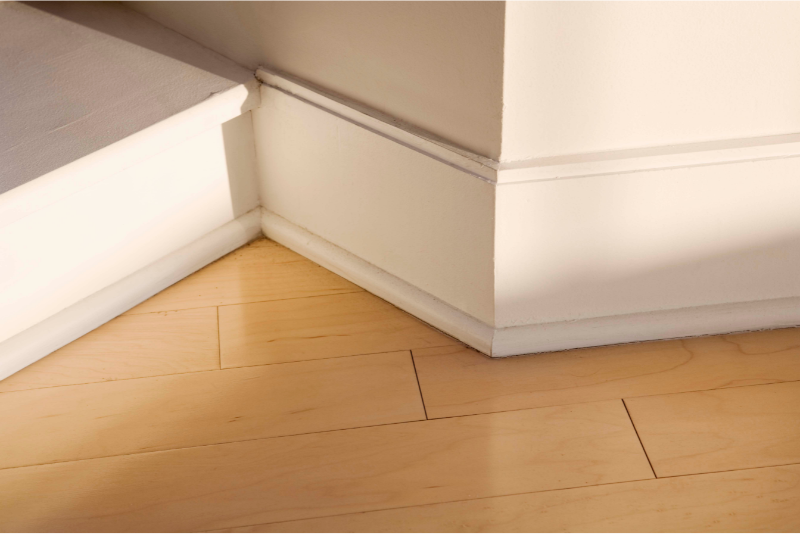
When implementing board and batten wall treatments, there are a few options for handling the baseboards:
- Remove and Reinstall: One option is to remove the existing baseboards before installing the board and batten panels. Once the panels are in place, the baseboards can be reinstalled on top of the lower horizontal batten or directly against the wall, depending on the desired look. This method creates a seamless transition between the baseboards and the board and batten treatment.
- Butt Against Baseboards: Another option is to leave the baseboards in place and have the vertical battens butt up against them. This approach can simplify the installation process and maintain the continuity of the existing baseboards. However, it’s important to ensure that the battens are cut accurately and fit tightly against the baseboards for a clean and finished appearance.
- Replace Baseboards: If you prefer a more cohesive and uniform look, you can choose to remove the existing baseboards and replace them with new baseboards that are compatible with the board and batten treatment. This allows for a consistent style and ensures that the baseboards integrate seamlessly with the overall design.
The decision on how to handle the baseboards will depend on personal preference, the condition of the existing baseboards, and the desired aesthetic outcome.
It’s important to carefully plan and measure before starting the project to ensure that all elements fit together properly and achieve the desired finished look.
What finish is best for board and batten entryway?
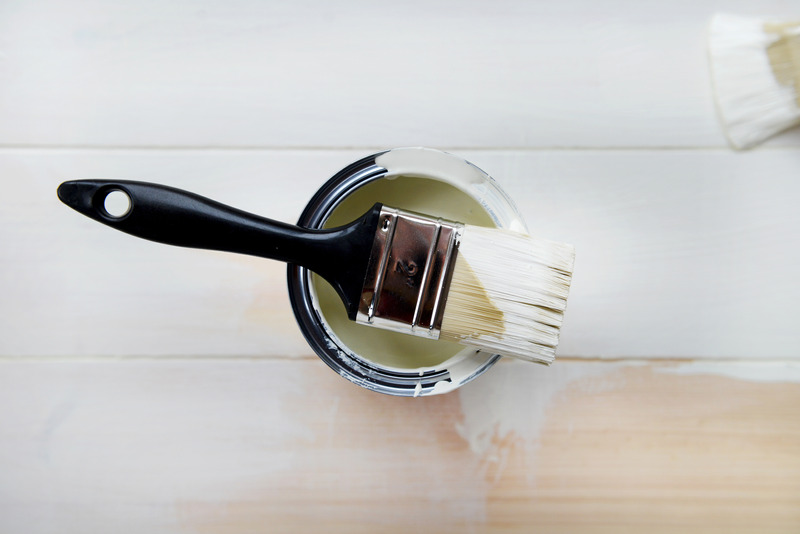
The choice of finish for a board and batten wall depends on the desired aesthetic, as well as the specific requirements of the space. Here are a few popular finish options for board and batten walls:
- Paint: Painting the board and batten wall is a common choice as it allows for endless color possibilities. It can be an opportunity to match or complement the existing color scheme in the room or to create a focal point by using a contrasting or bold color. A high-quality paint finish can provide a smooth and even appearance to the wall.
- Stain: If you prefer to showcase the natural beauty of the wood used for the board and batten, staining is a great option. Stains come in various shades and can enhance the grain pattern and texture of the wood. It is important to properly prepare the wood surface and choose a stain color that complements the overall design aesthetic.
- Whitewash: For a more rustic or coastal look, whitewashing the board and batten wall can be an appealing choice. Whitewash involves applying a diluted paint or specialized whitewash product to achieve a semi-translucent, washed-out effect that still allows the wood grain to show through.
- Eggshell paint finish: Using an eggshell paint finish for a board and batten entryway can be a great choice. Eggshell is a versatile paint finish that strikes a balance between a matte and satin sheen. Also, the slight sheen of eggshell paint can help minimize the appearance of minor imperfections in the wood or the application process.
When choosing a finish, consider factors such as the desired level of maintenance, the overall style and ambiance of the space, and the practicality of the finish for the specific location of the board and batten wall.
It is also helpful to test different finish options on a small area or sample piece of wood to ensure you achieve the desired look before applying it to the entire wall.
Board and batten entryway can be a great addition to your home
Here are the basic steps to help you create this look:
- Measure the wall where you want to install the board and batten. Decide how tall you want the boards to be, and how far apart you want them to be spaced. Generally, board and batten are installed with boards spaced 12-16 inches apart.
- Purchase your materials. You will need boards for the battens, as well as a larger board for the top rail. You will also need hooks to hang coats and bags. Make sure you choose materials that are suitable for your desired aesthetic and budget.
- Prep the wall. Remove any existing baseboards or trim. Fill any holes or cracks in the wall, and sand the surface to ensure it is smooth.
- Install the top rail. Measure and cut the top board to fit the length of the wall. Use a level to ensure it is installed straight, and secure it to the wall with screws or nails.
- Install the battens. Measure and cut the boards for the battens to the appropriate length. Use a level to ensure they are installed straight, and secure them to the wall with screws or nails.
- Paint or stain the boards. Once the boards are installed, you can paint or stain them to your desired finish. Allow them to dry completely before moving on to the next step.
- Install the hooks. Measure and mark where you want the hooks to be placed, and install them into the battens.
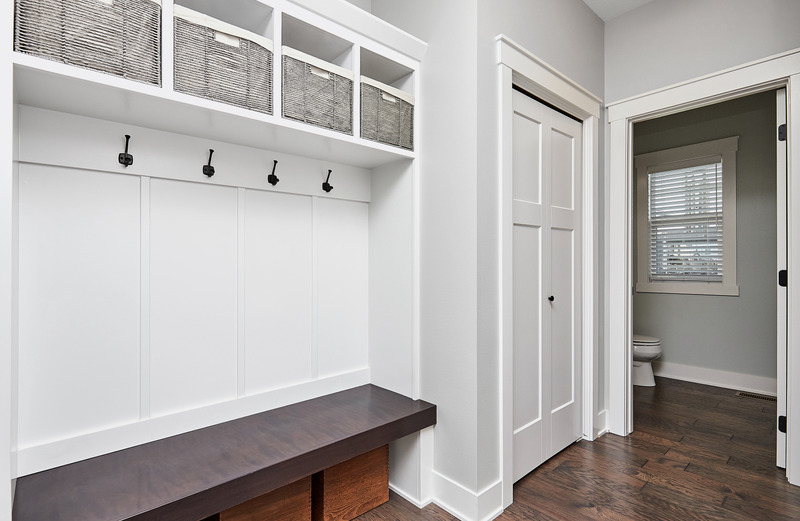
Board and batten entryway ideas
Here are some board and batten entryway ideas to help inspire you:
- Rustic charm: For a cozy and rustic look, try using natural wood boards for the battens and top rail. Add some distressed metal hooks for a vintage feel, and complete the look with warm-toned paint or stain.
- Coastal vibes: Create a beachy atmosphere with white-painted boards for the battens and top rail. Add some seashell or starfish hooks, and accessorize with a woven basket for storage.
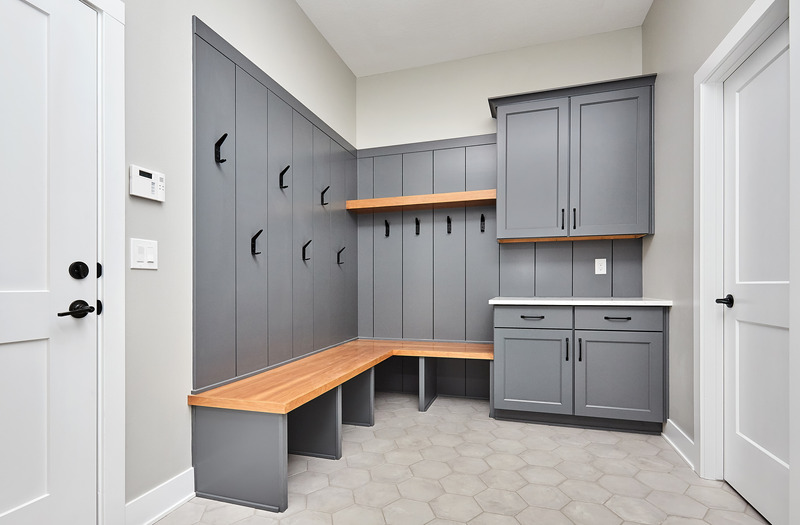
- Bold and modern: For a contemporary look, use black-painted boards for the battens and top rail. Add some sleek, minimalist hooks and accessorize with a geometric rug or artwork.
- Classic elegance: Go for a timeless look with white-painted boards for the battens and top rail. Add some ornate hooks for a touch of elegance, and complete the look with a chandelier or pendant light fixture.
- Farmhouse charm: For a farmhouse-inspired look, use natural wood boards for the battens and top rail, and add some black metal hooks. Accessorize with a vintage-style mirror and some rustic baskets or crates for storage.
No matter what style you choose, a board and batten entryway with hooks is sure to add charm and functionality to your home.
How do you make DIY board and batten entryway look nice and professional?
Precise Measurements and Planning: Take accurate measurements and plan the layout of your board and batten design before starting. This will help ensure that the spacing and proportions of the battens are consistent and visually pleasing.
Use Quality Materials: Choose high-quality wood or engineered wood products for your board and batten panels. Opt for straight and smooth boards that are free from knots and imperfections. Using sturdy materials will contribute to a more professional finish.
Proper Installation: Take your time during the installation process to ensure that the panels are securely attached to the wall. Use a level to ensure the battens are straight and plumb. Secure the panels firmly with appropriate nails, screws, or adhesive, depending on the chosen installation method.
Neat and Secure Joints: Pay attention to the joints where the horizontal and vertical battens meet. Make sure they fit snugly together with tight, seamless joints. Use wood filler or putty to fill any gaps or nail holes, and sand the surface smoothly for a polished appearance.
Finishing Techniques: Choose a finish that suits your desired aesthetic, such as paint or stain. Apply the finish evenly, following the manufacturer’s instructions. Take care to paint or stain between the battens and around the edges for a clean and professional look.
Attention to Detail: Pay attention to the small details that can elevate the overall appearance of your board and batten project. Ensure that the edges are straight, the corners are crisp, and the finish is smooth and even. Take the time to touch up any imperfections for a polished result.
Properly Paint Baseboards and Trim: If you choose to keep the existing baseboards or trim, ensure they are properly painted or stained to match or complement the board and batten treatment. This will create a cohesive and professional look.
By following these tips and taking a meticulous approach, you can achieve a DIY board and batten entryway with hooks treatment that looks aesthetically pleasing and professional in your space.
Conclusion
A board and batten entryway can be an excellent addition to your home decor, providing both aesthetic appeal and practical functionality.
With some basic carpentry skills and the right tools, it can be a relatively easy DIY project to undertake.
When installing board and batten, it’s important to consider factors such as the height and spacing of the boards and to ensure that they are securely attached to the wall.
By following these guidelines, you can create a beautiful and functional entryway. And set the tone for your living room and add character and charm to your entire home.
Have you personally undertaken a DIY board and batten project? If so, what were your experiences and challenges? If not, what are your thoughts on starting? Please share in the comments below!
Related: